After a user completes a form, you can create a Submit button configured to instantly send the form by email.
- With your form in Design view, click in the area of the form you wish to add the Submit button.
- Display the Controls task pane and click the Button control, which places the button in the form.
-
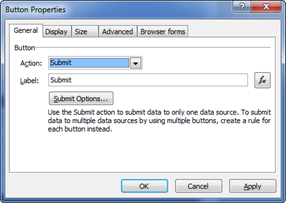
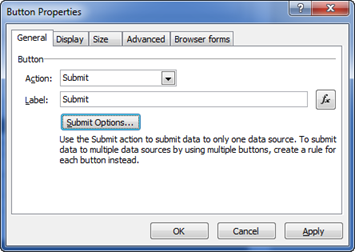
Double-click the button to launch its properties. On the General tab, the default Action setting is Rules and Custom Code, which is not what we want.

-
Change the Action drop down box to Submit.
-
Now click the Submit Options button to launch the Submit Options dialog box.
-
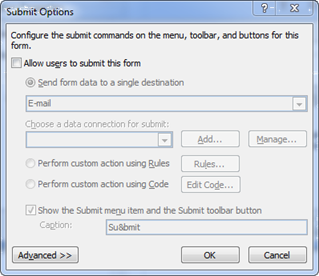
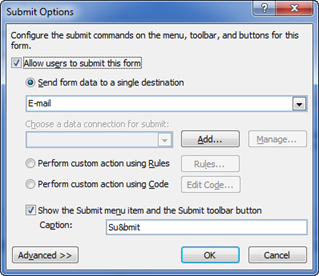
Click the Allow users to submit this form option.
-
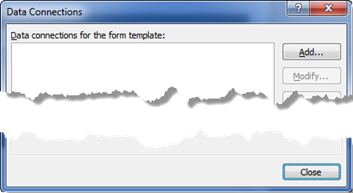
In the Data Connections widow, click the Add button to add a data connection.
-
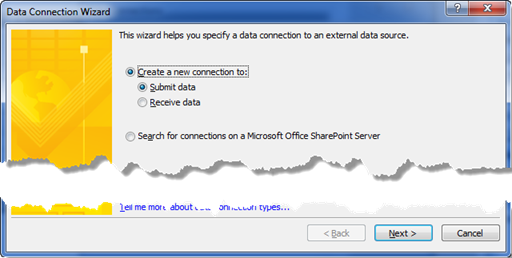
In the Data Connection Wizard, choose Create a new connection to as well as Submit Data and click Next.
-
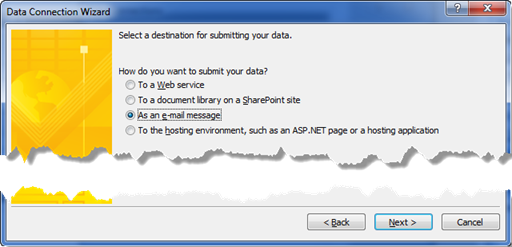
Choose As an e-mail message and click Next.
-
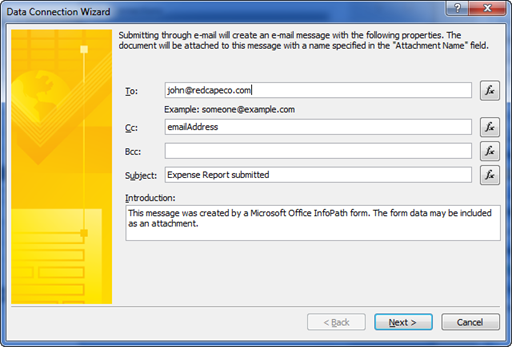
Complete the email fields as seen in this screenshot. If you want to use a field from your form, click the corresponding Insert Formula
[fx] button in this dialog box. For instance, if you collected the user’s email address on this form, you can include them in the cc field of the email. See step a, below.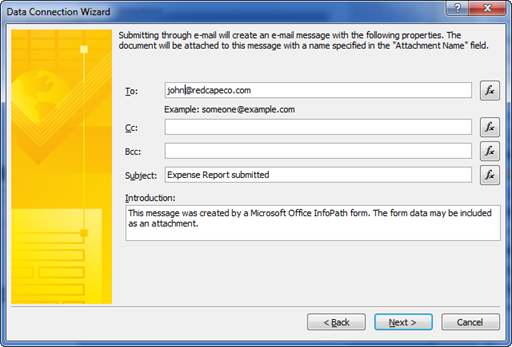
-
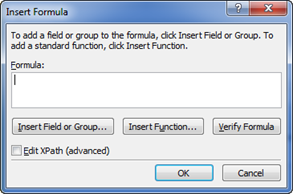
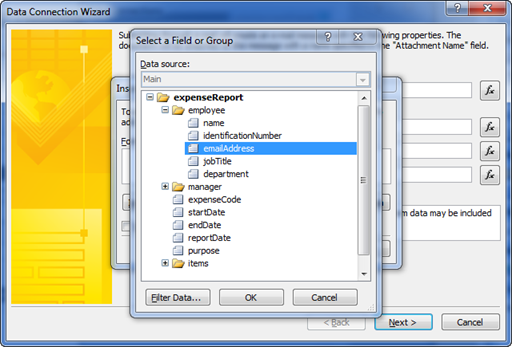
When you click the Insert Function button for the Cc: field of the email, you get the Insert Formula dialog box.
-
In the Select a Field or Group dialog box, choose your emailAddress field you created in your form and click OK twice to get back to the Data Connection wizard.
-
-
Once your email address fields, subject and introduction fields are completed, click Next.
-
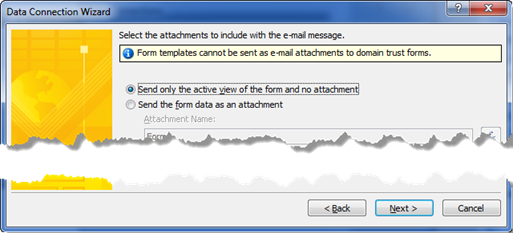
Choose Send only the active view of the form and no attachment, then click Next.
-
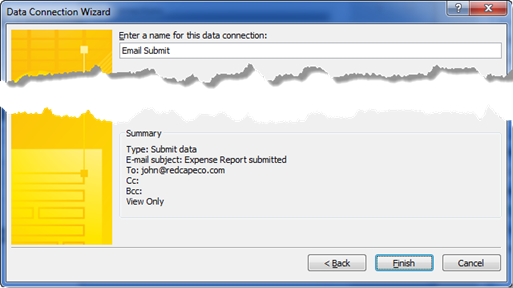
You can rename the data connection or accept the default “Email Submit” name. Click Finish.
-
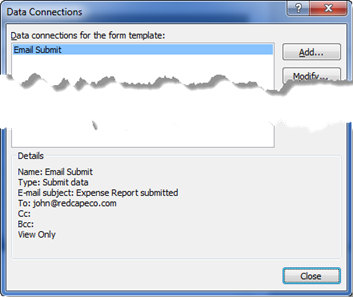
Now you’re brought back to the Data Connections wizard where you see your Email Submit connection along with a preview of its properties. Click Close.
-
To complete the setup, click the Ok button in the Button Properties dialog box.
- The next step is to Preview the form so that you can test your new Submit button.